Appearance
Sending email from a custom domain
Email address with custom domains are cool, especially when you got a short one.
I wanted to use it just like a regular Gmail address, and it turns out to be not so easy.
Goals
- Receive email from a custom address
- Send email from that address
- Receive and send email using Gmail (works on both web and phone Gmail apps)
- Outgoing emails don’t get marked as spam
- All of the above for free
Specially, DMARC, SPF, and DKIM will be setup and fully working.
High level diagram of the final setup: 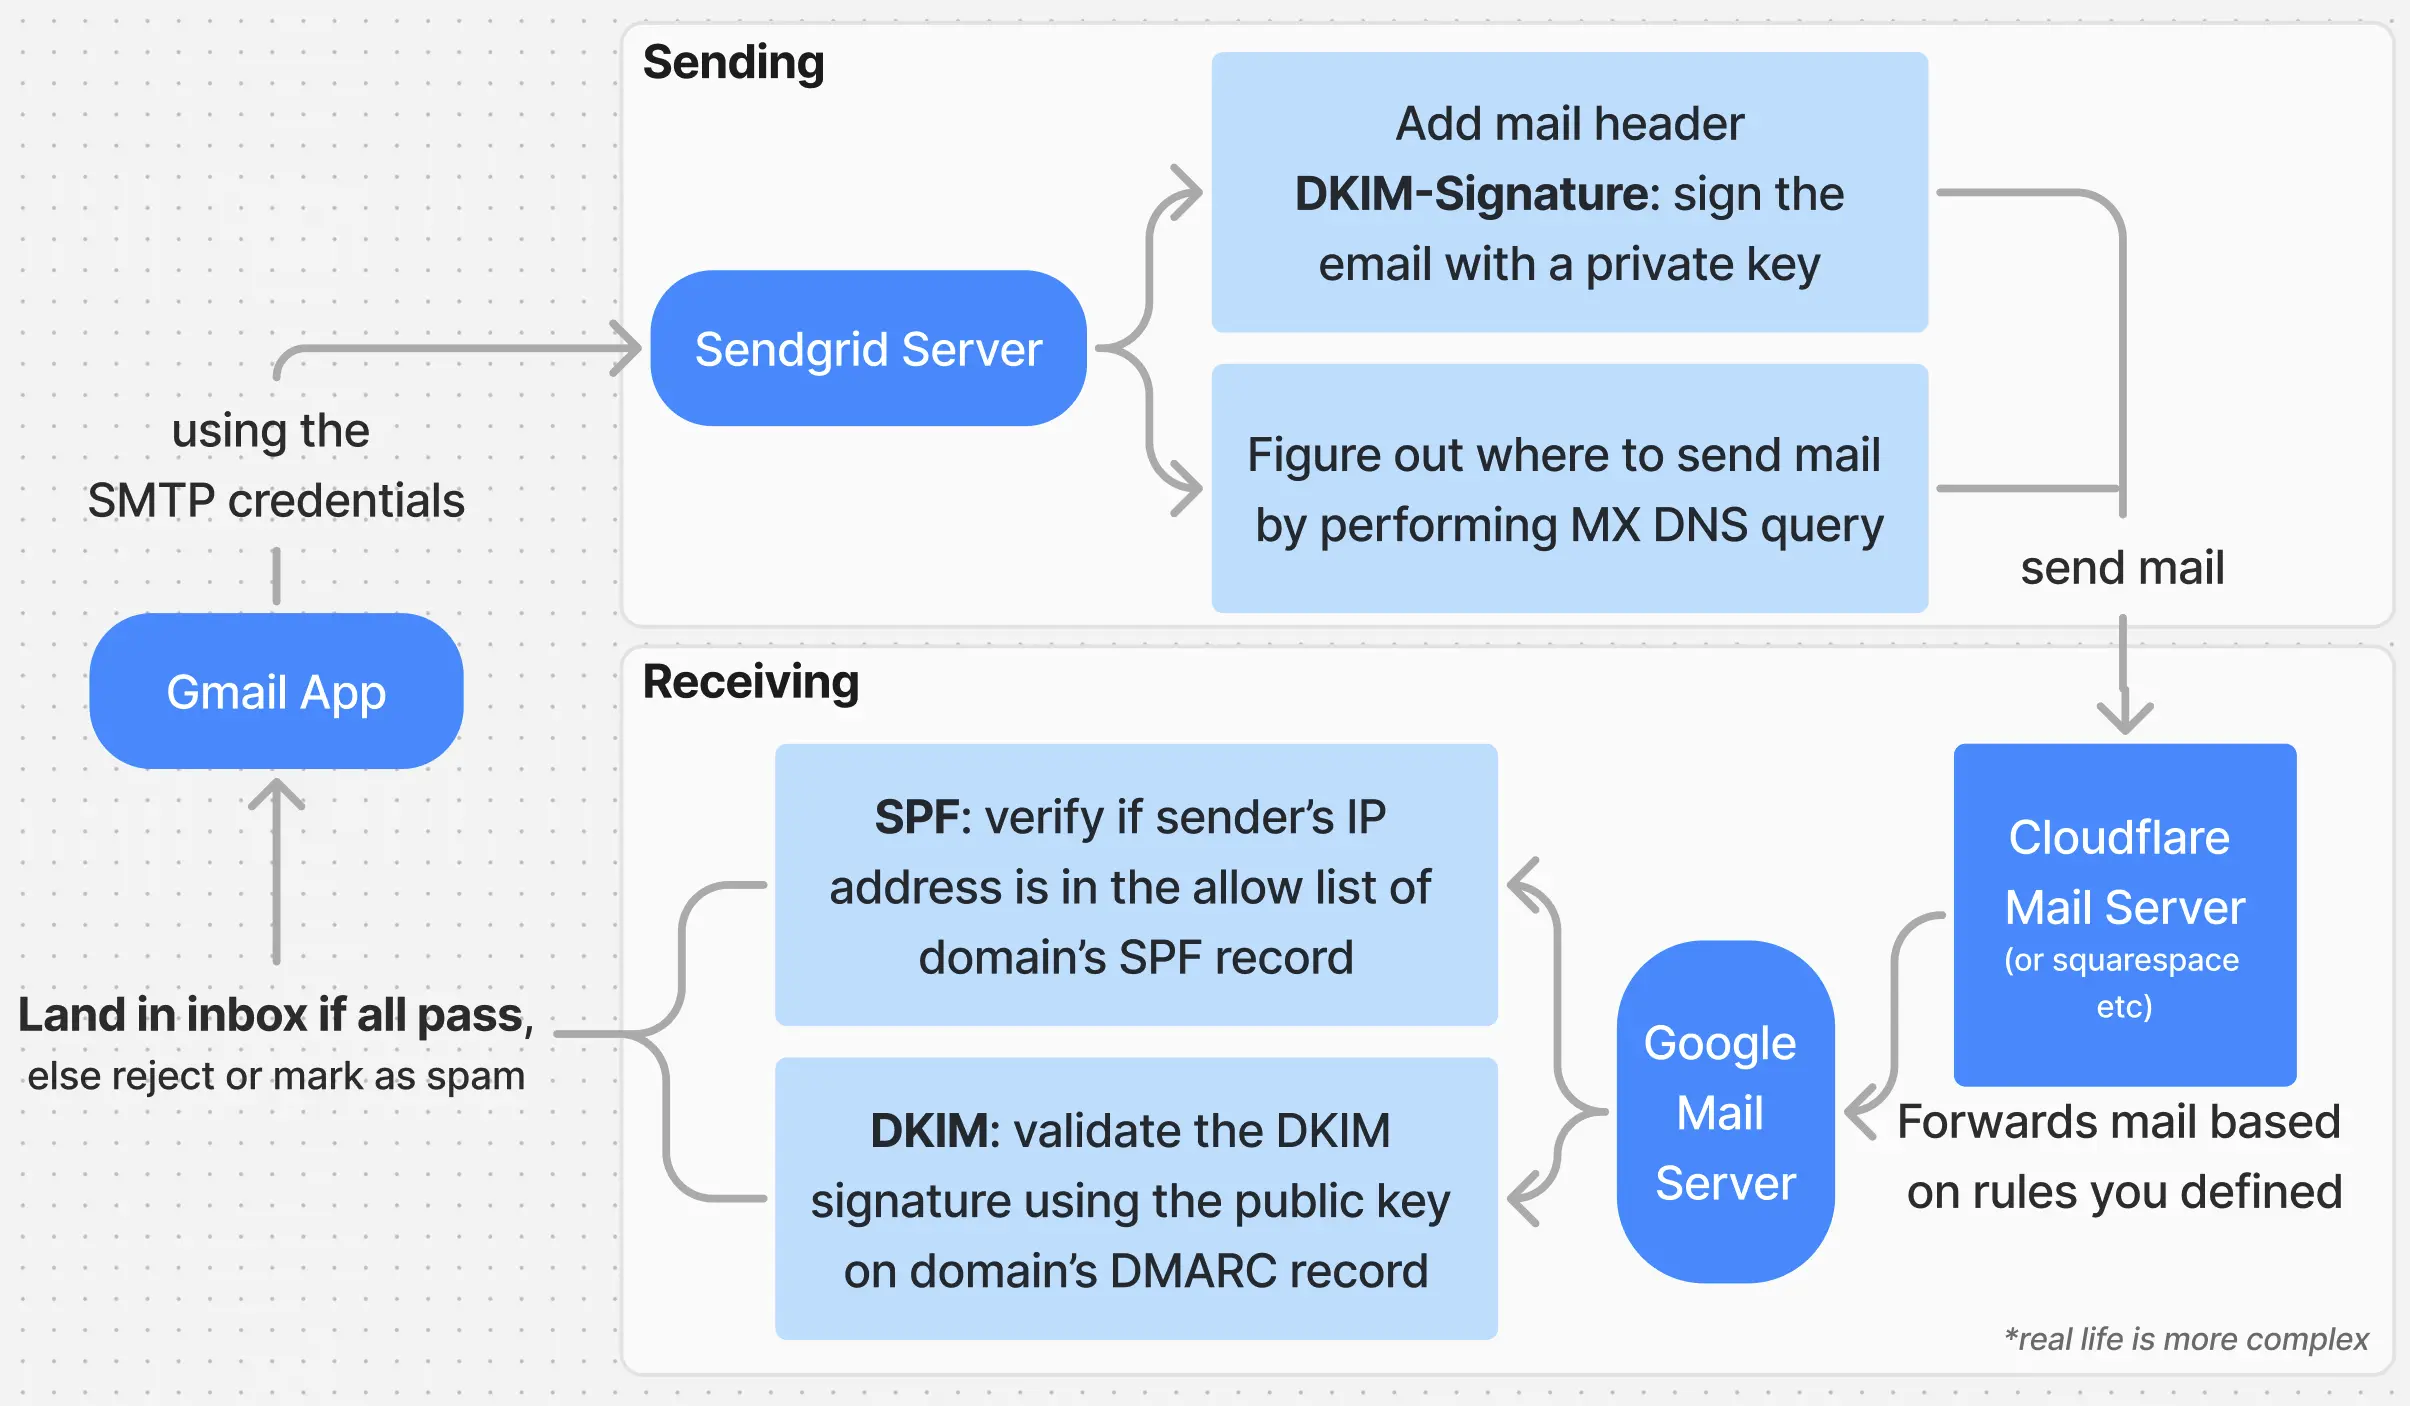
Here is ChatGPT explaining DMARC, SPF, and DKIM
DMARC, SPF, and DKIM are email authentication mechanisms designed to prevent email spoofing and phishing by validating that emails come from authorized sources. Here's an overview of each:
SPF (Sender Policy Framework)
- Purpose: Ensures that only authorized mail servers can send emails on behalf of a domain.
- How it works: The domain owner publishes an SPF record in their DNS, listing the IP addresses or mail servers allowed to send emails for the domain. When an email is received, the recipient's mail server checks this record to verify if the sending server is authorized.
- Example: An SPF record might look like this:
This means emails are allowed from the specified IP range and domain.v=spf1 ip4:192.0.2.0/24 include:example.com -allDKIM (DomainKeys Identified Mail)
- Purpose: Verifies that the email has not been tampered with during transit and that it was sent by the claimed domain.
- How it works: The sender digitally signs the email using a private key, and the recipient verifies it using the sender's public key, which is published in their DNS. This ensures both the integrity and authenticity of the message.
- Example: A DKIM record might look like this:
Thev=DKIM1; k=rsa; p=PUBLICKEYGOESHEREpvalue contains the public key used for signature verification.DMARC (Domain-based Message Authentication, Reporting, and Conformance)
- Purpose: Builds on SPF and DKIM by specifying how to handle emails that fail authentication checks and providing reporting mechanisms.
- How it works: Domain owners publish a DMARC record in their DNS that defines their policy (e.g., quarantine, reject, or none) for dealing with emails failing SPF or DKIM checks. It also enables reporting of authentication results to the domain owner.
- Example: A DMARC record might look like this:
v=DMARC1; p=reject; rua=mailto:[email protected]
p=reject: Rejects emails that fail authentication.rua: Specifies an email address to receive aggregate reports.How They Work Together
- SPF: Verifies the sender's server is authorized.
- DKIM: Ensures the message integrity and authenticity.
- DMARC: Provides the policy for handling failures and sends reports to help monitor and improve authentication practices.
By combining these protocols, domains significantly reduce the risk of spoofing and phishing attacks, while also providing transparency through reporting.
Receiving Emails
This is the easy part.
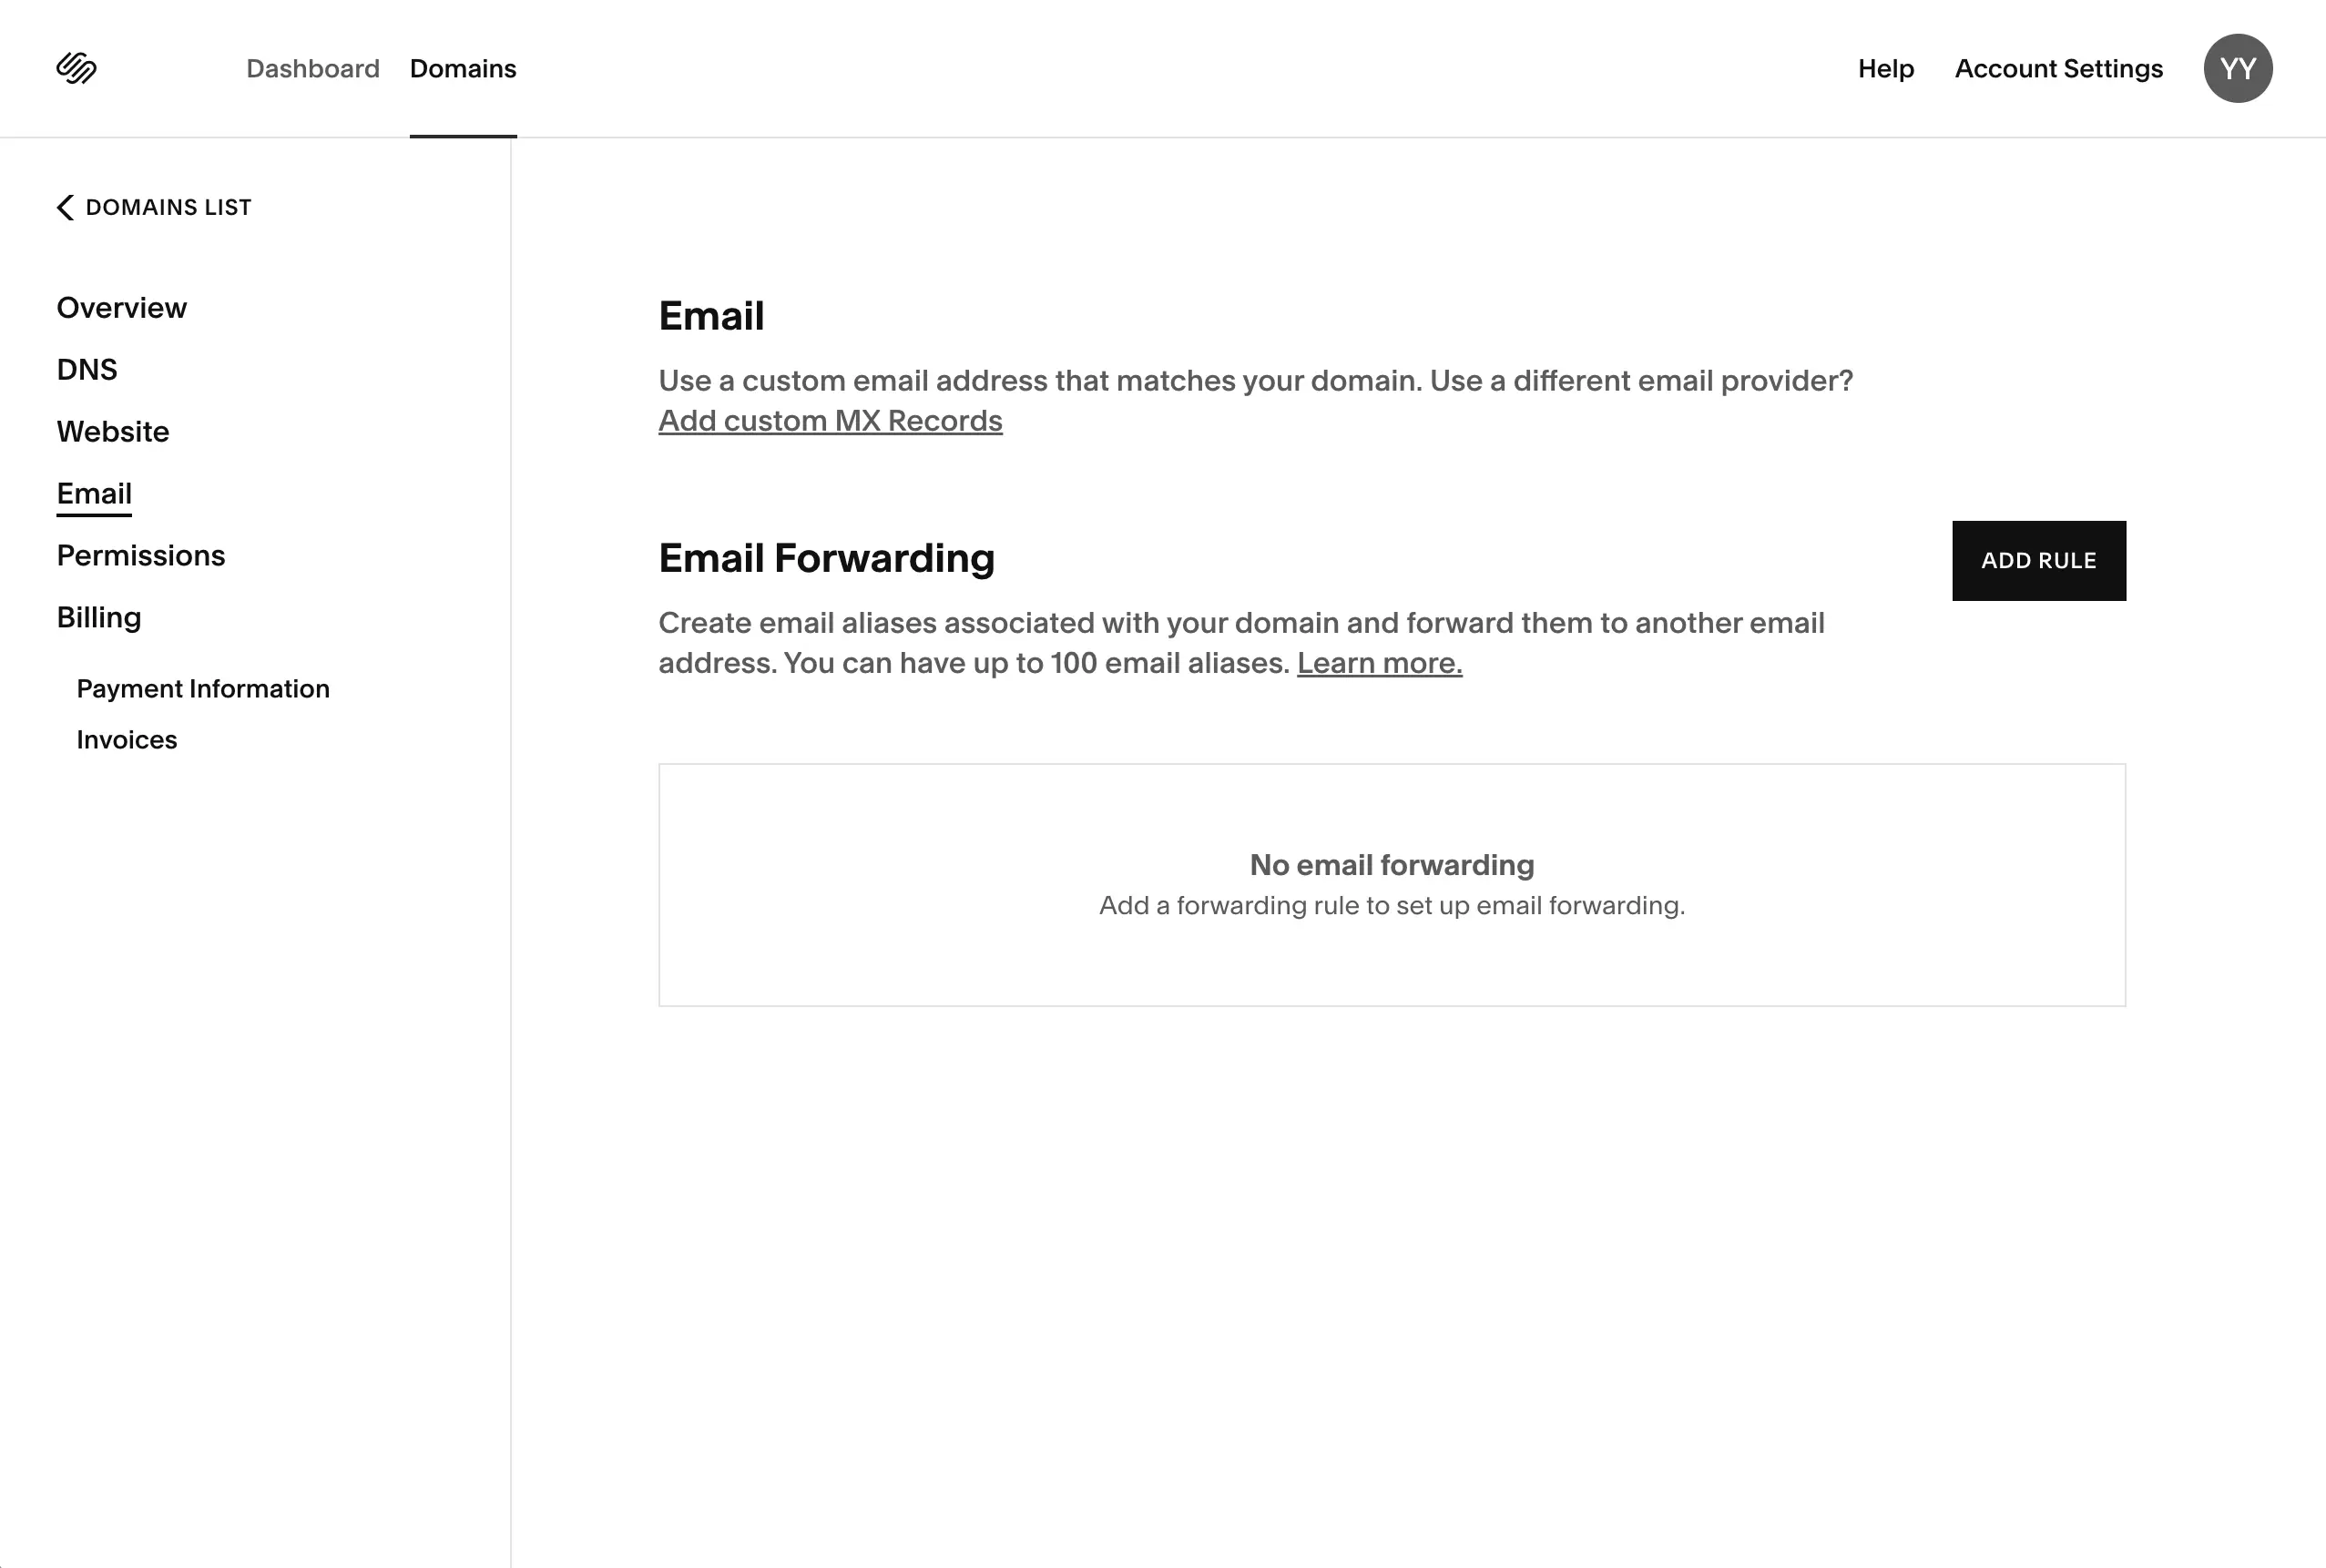
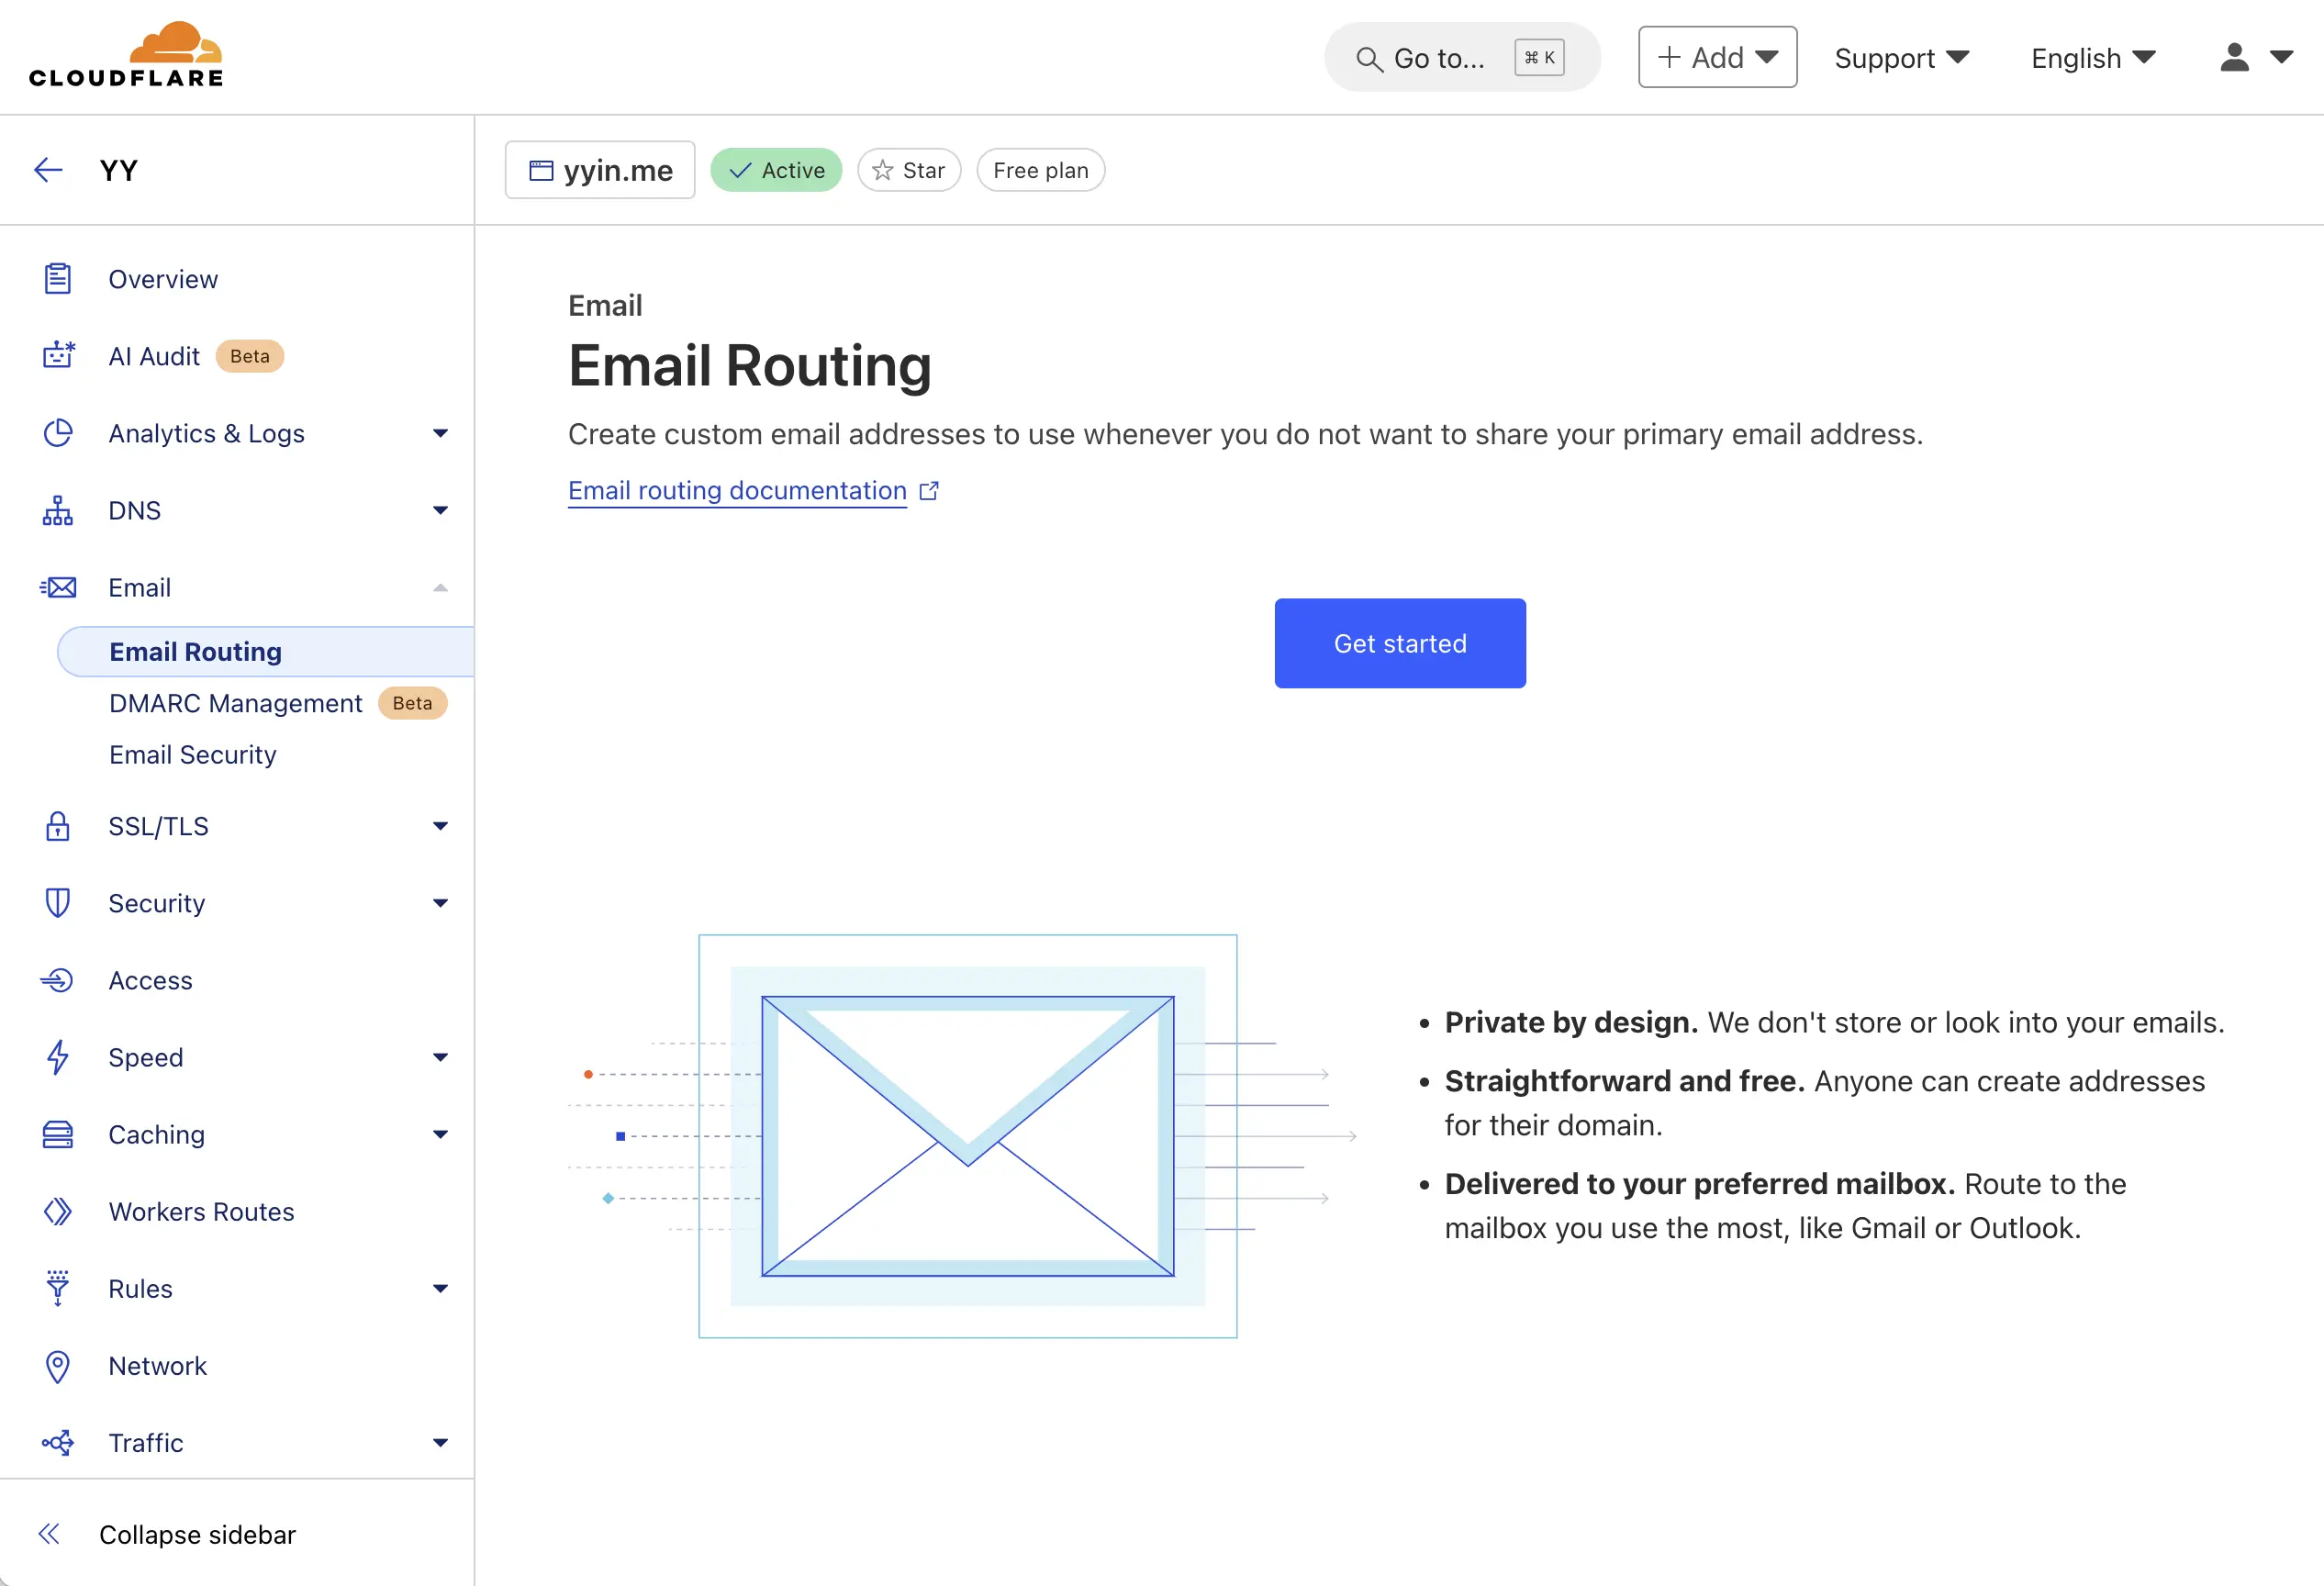
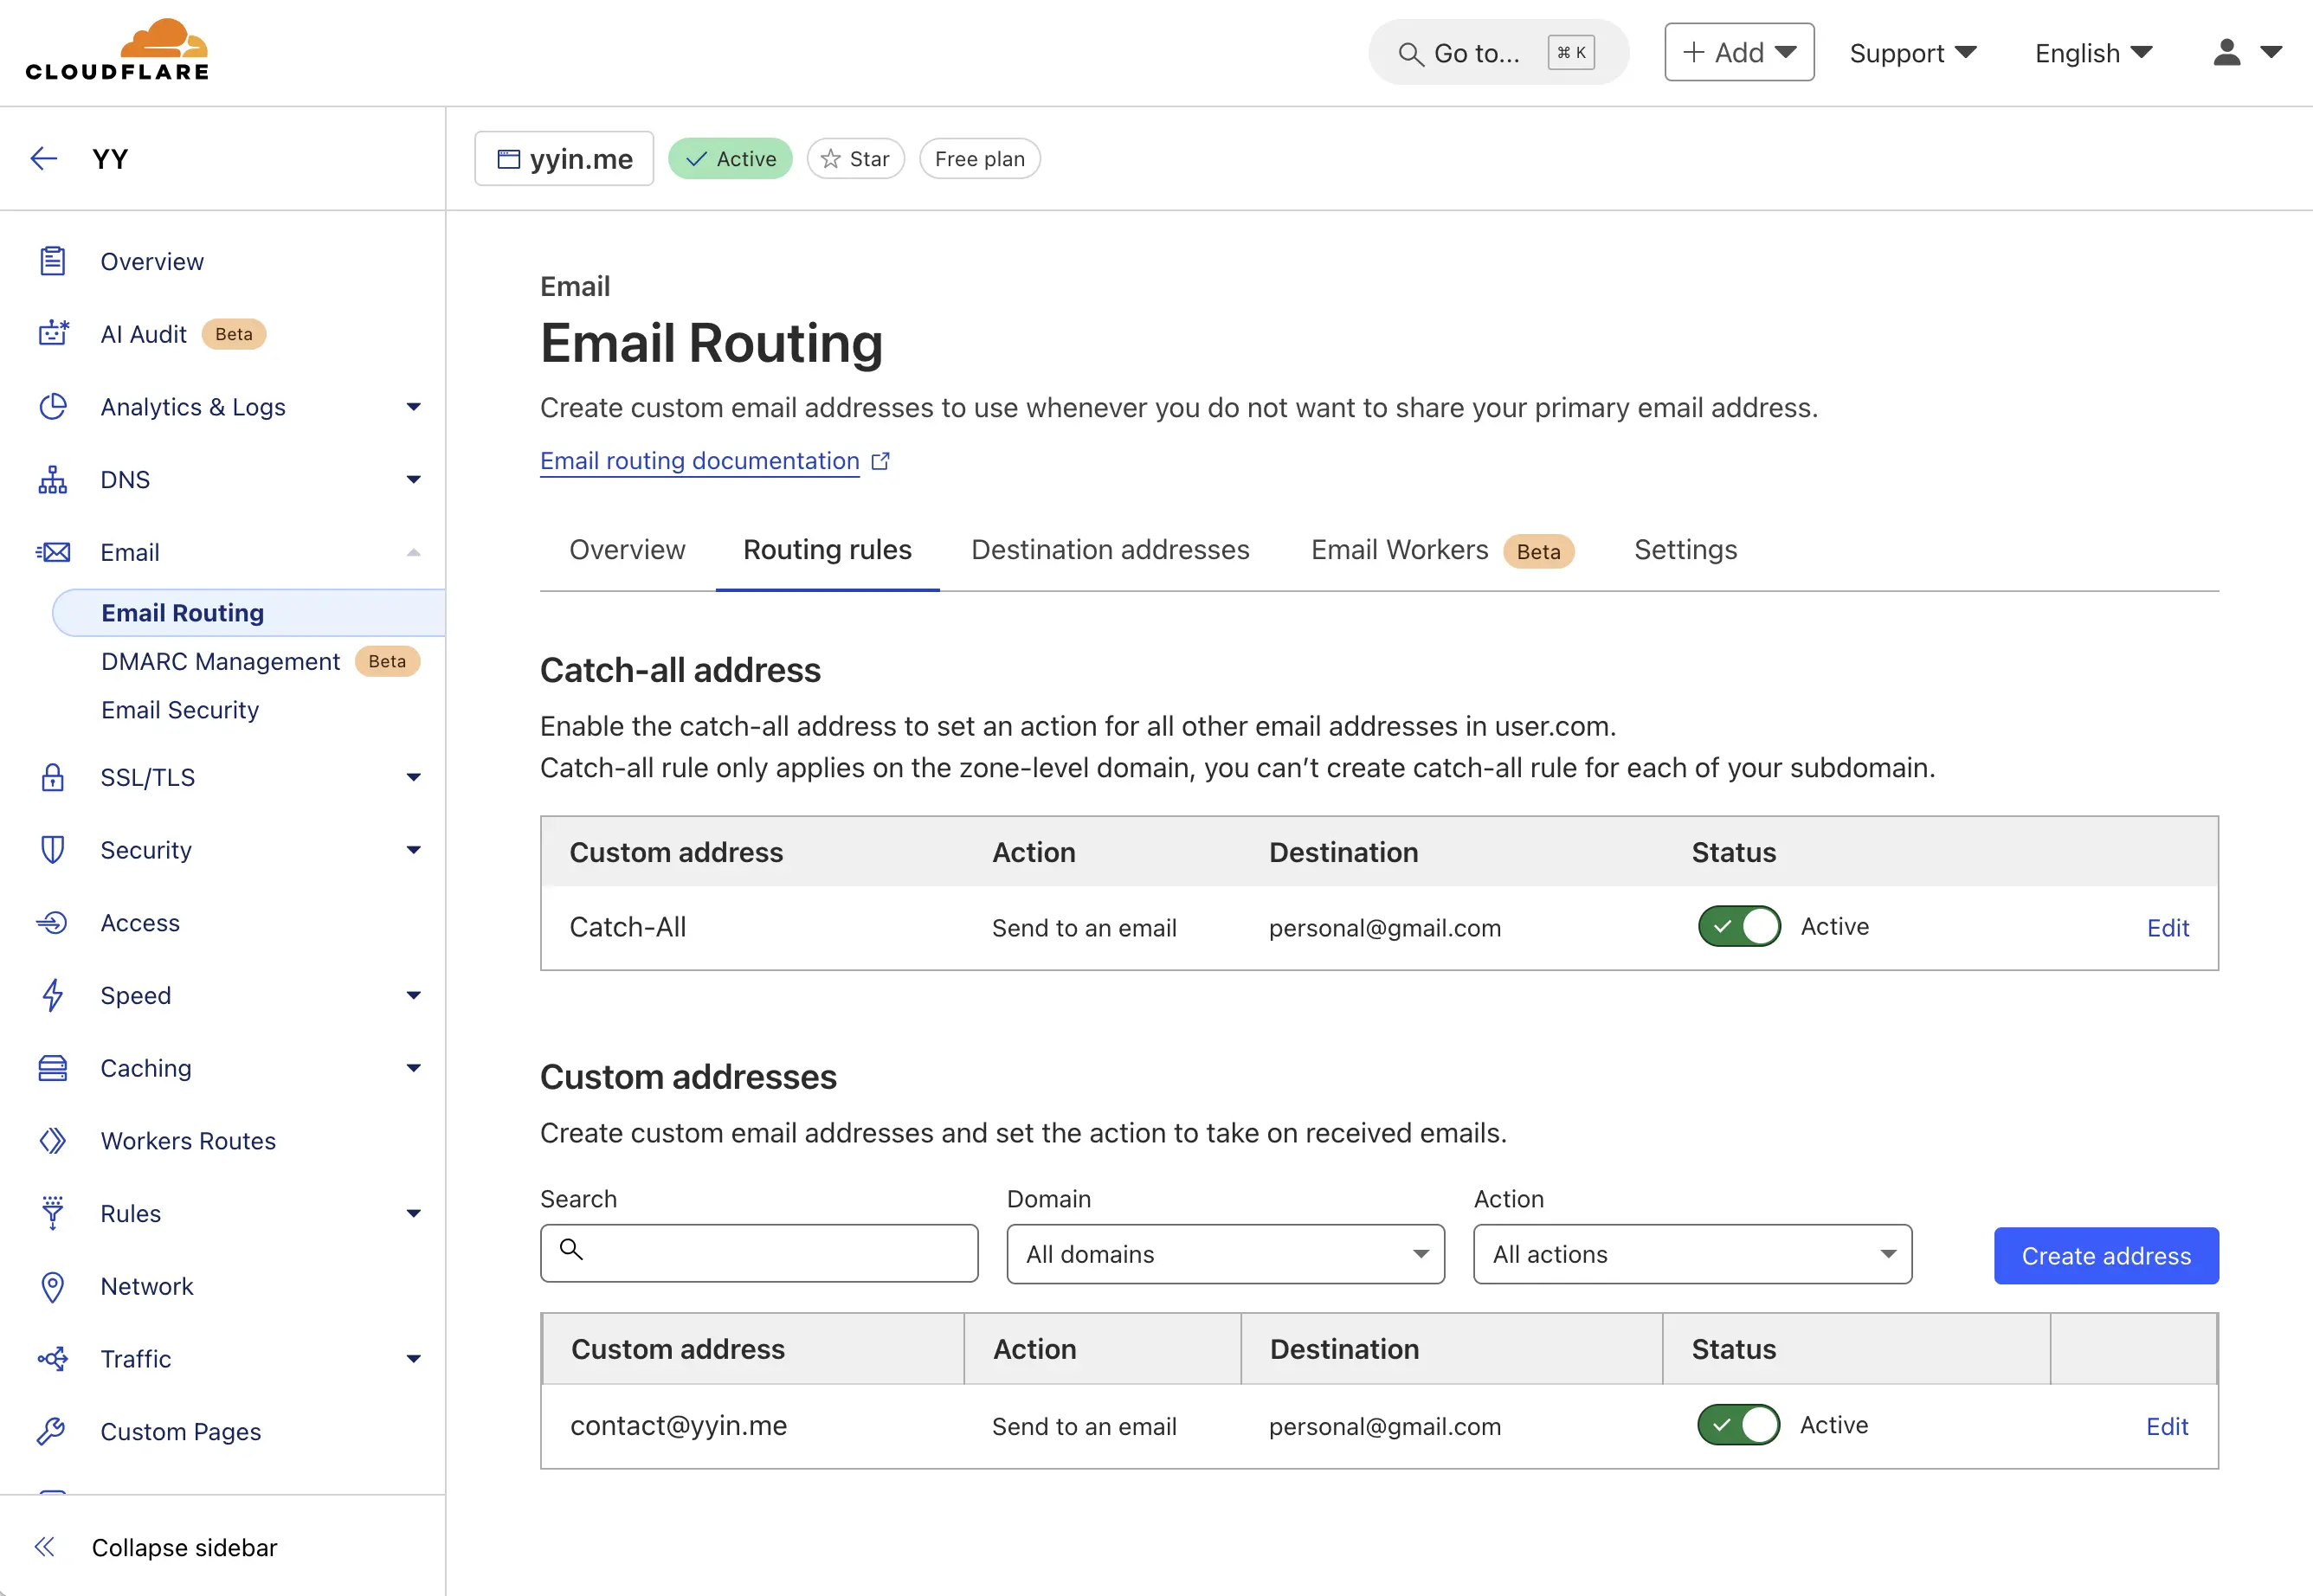
Go to wherever you manage your domain, and there’s usually an option to enable the mail box and configure email forwarding.
Configuration page for Squarespace Domain and Cloudflare Domain
My configuration
Sending Emails
This is the not so easy part.
You need to configure a SMTP server for the address you want to send mail from. Gmail will then talk to that server in order to send you mails.
I ended up with using the Sendgrid, since their free tier provides 100 mails a day.
Sendgrid Configurations
Go to sendgrid.com and register for an account
You need to link your domain first. Go to Settings > Sender Authentication. Follow the prompts there. You will need to add some DNS records to your domain.

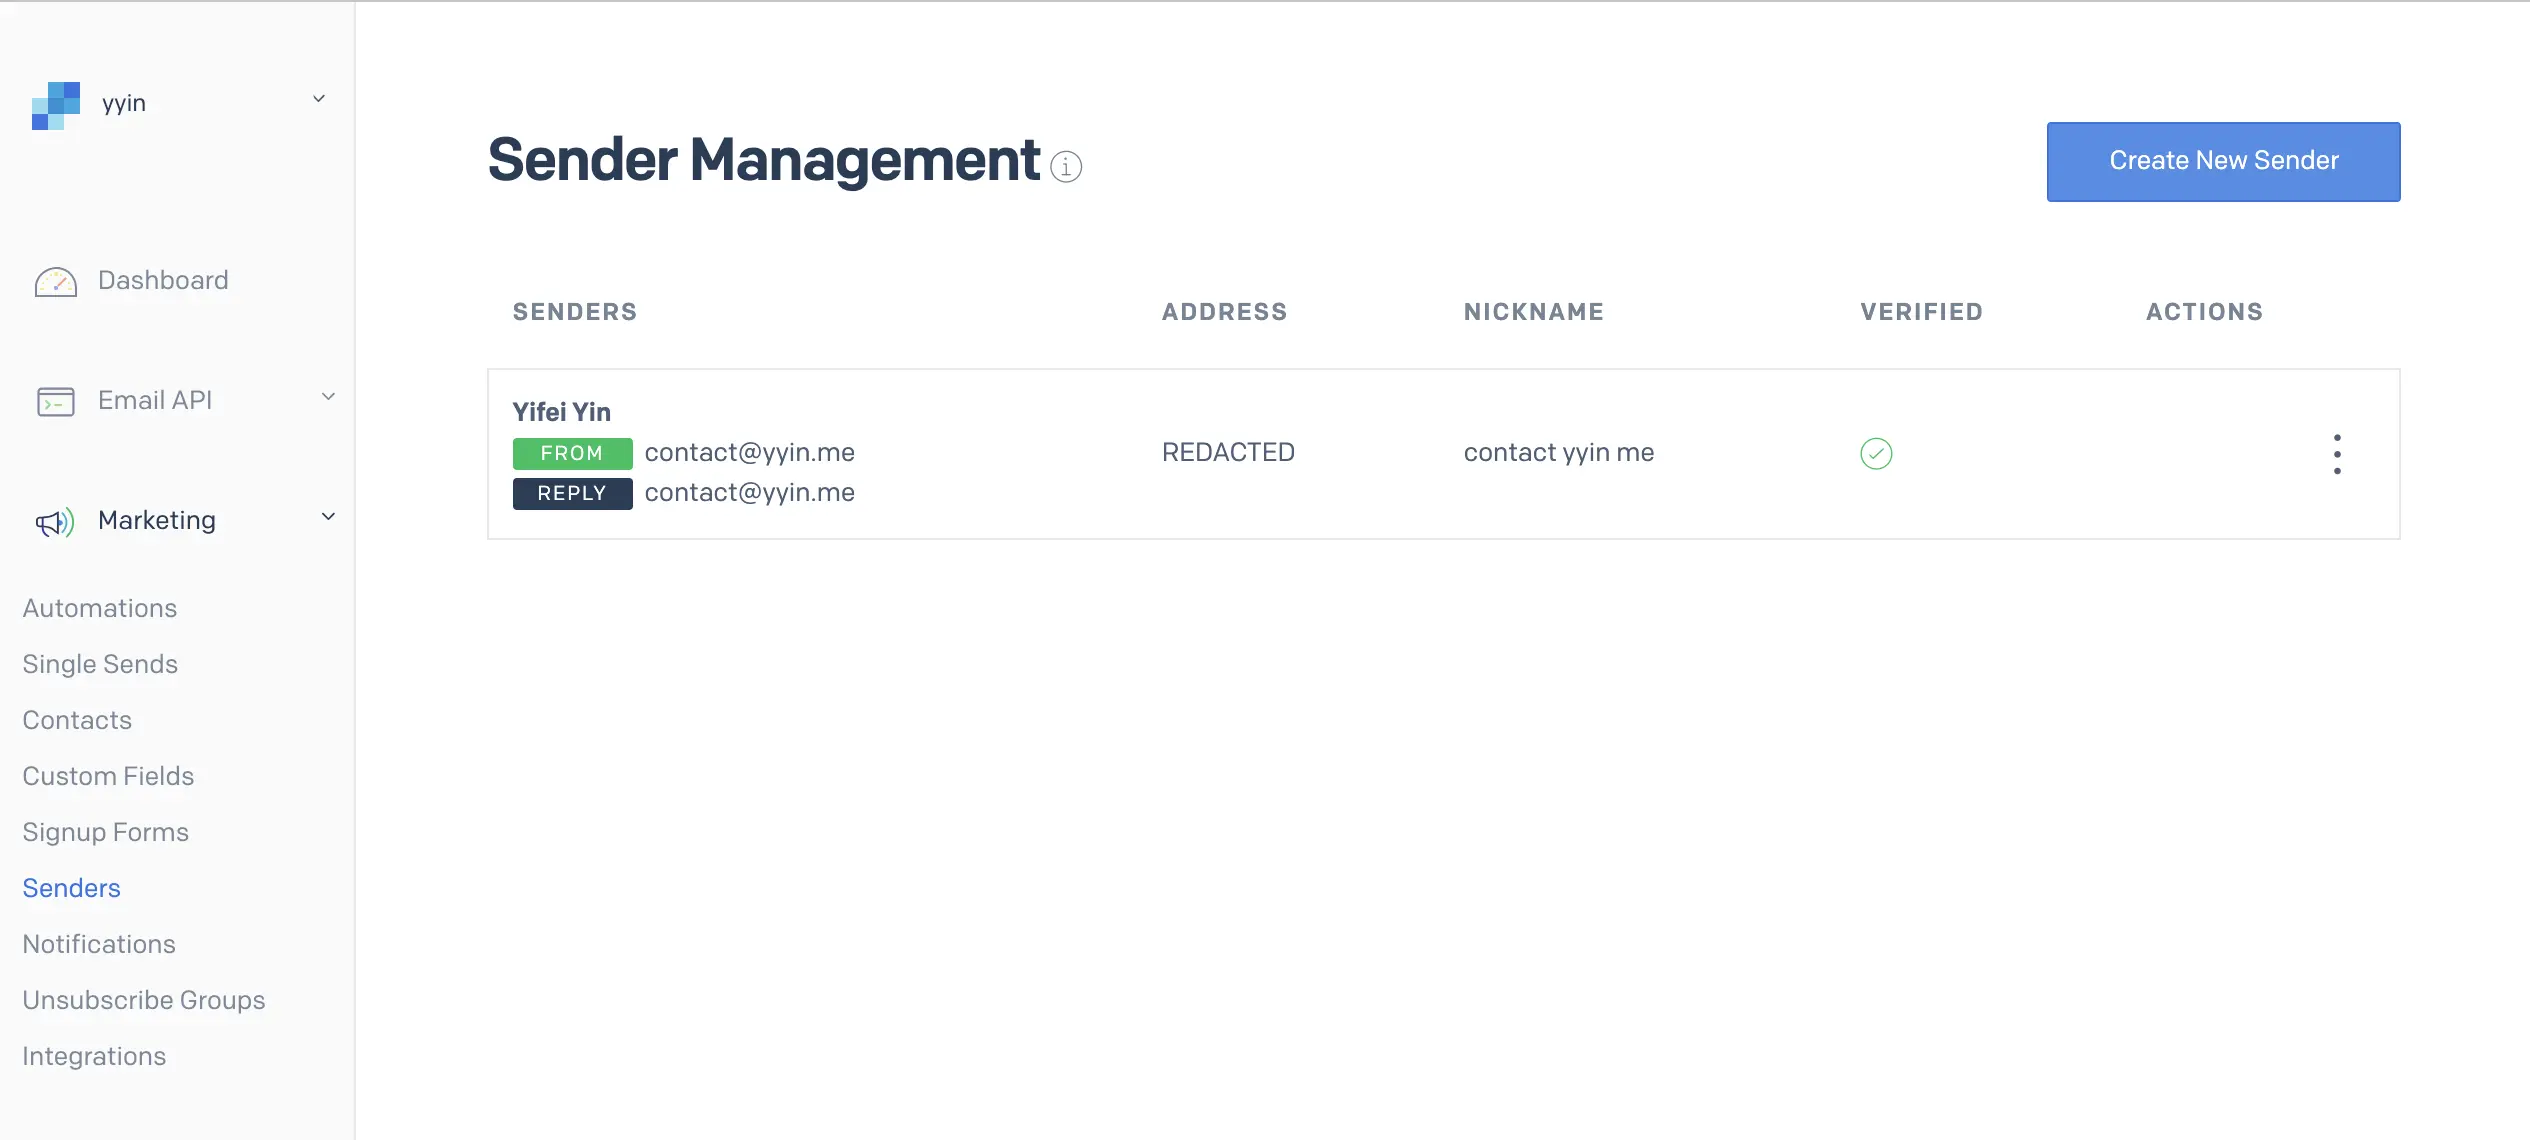
To send emails from the linked domain, you need a sender. Go to Marketing > Sender Management and click on Create New Sender. Your custom email address will be both the "from" and "reply" address.
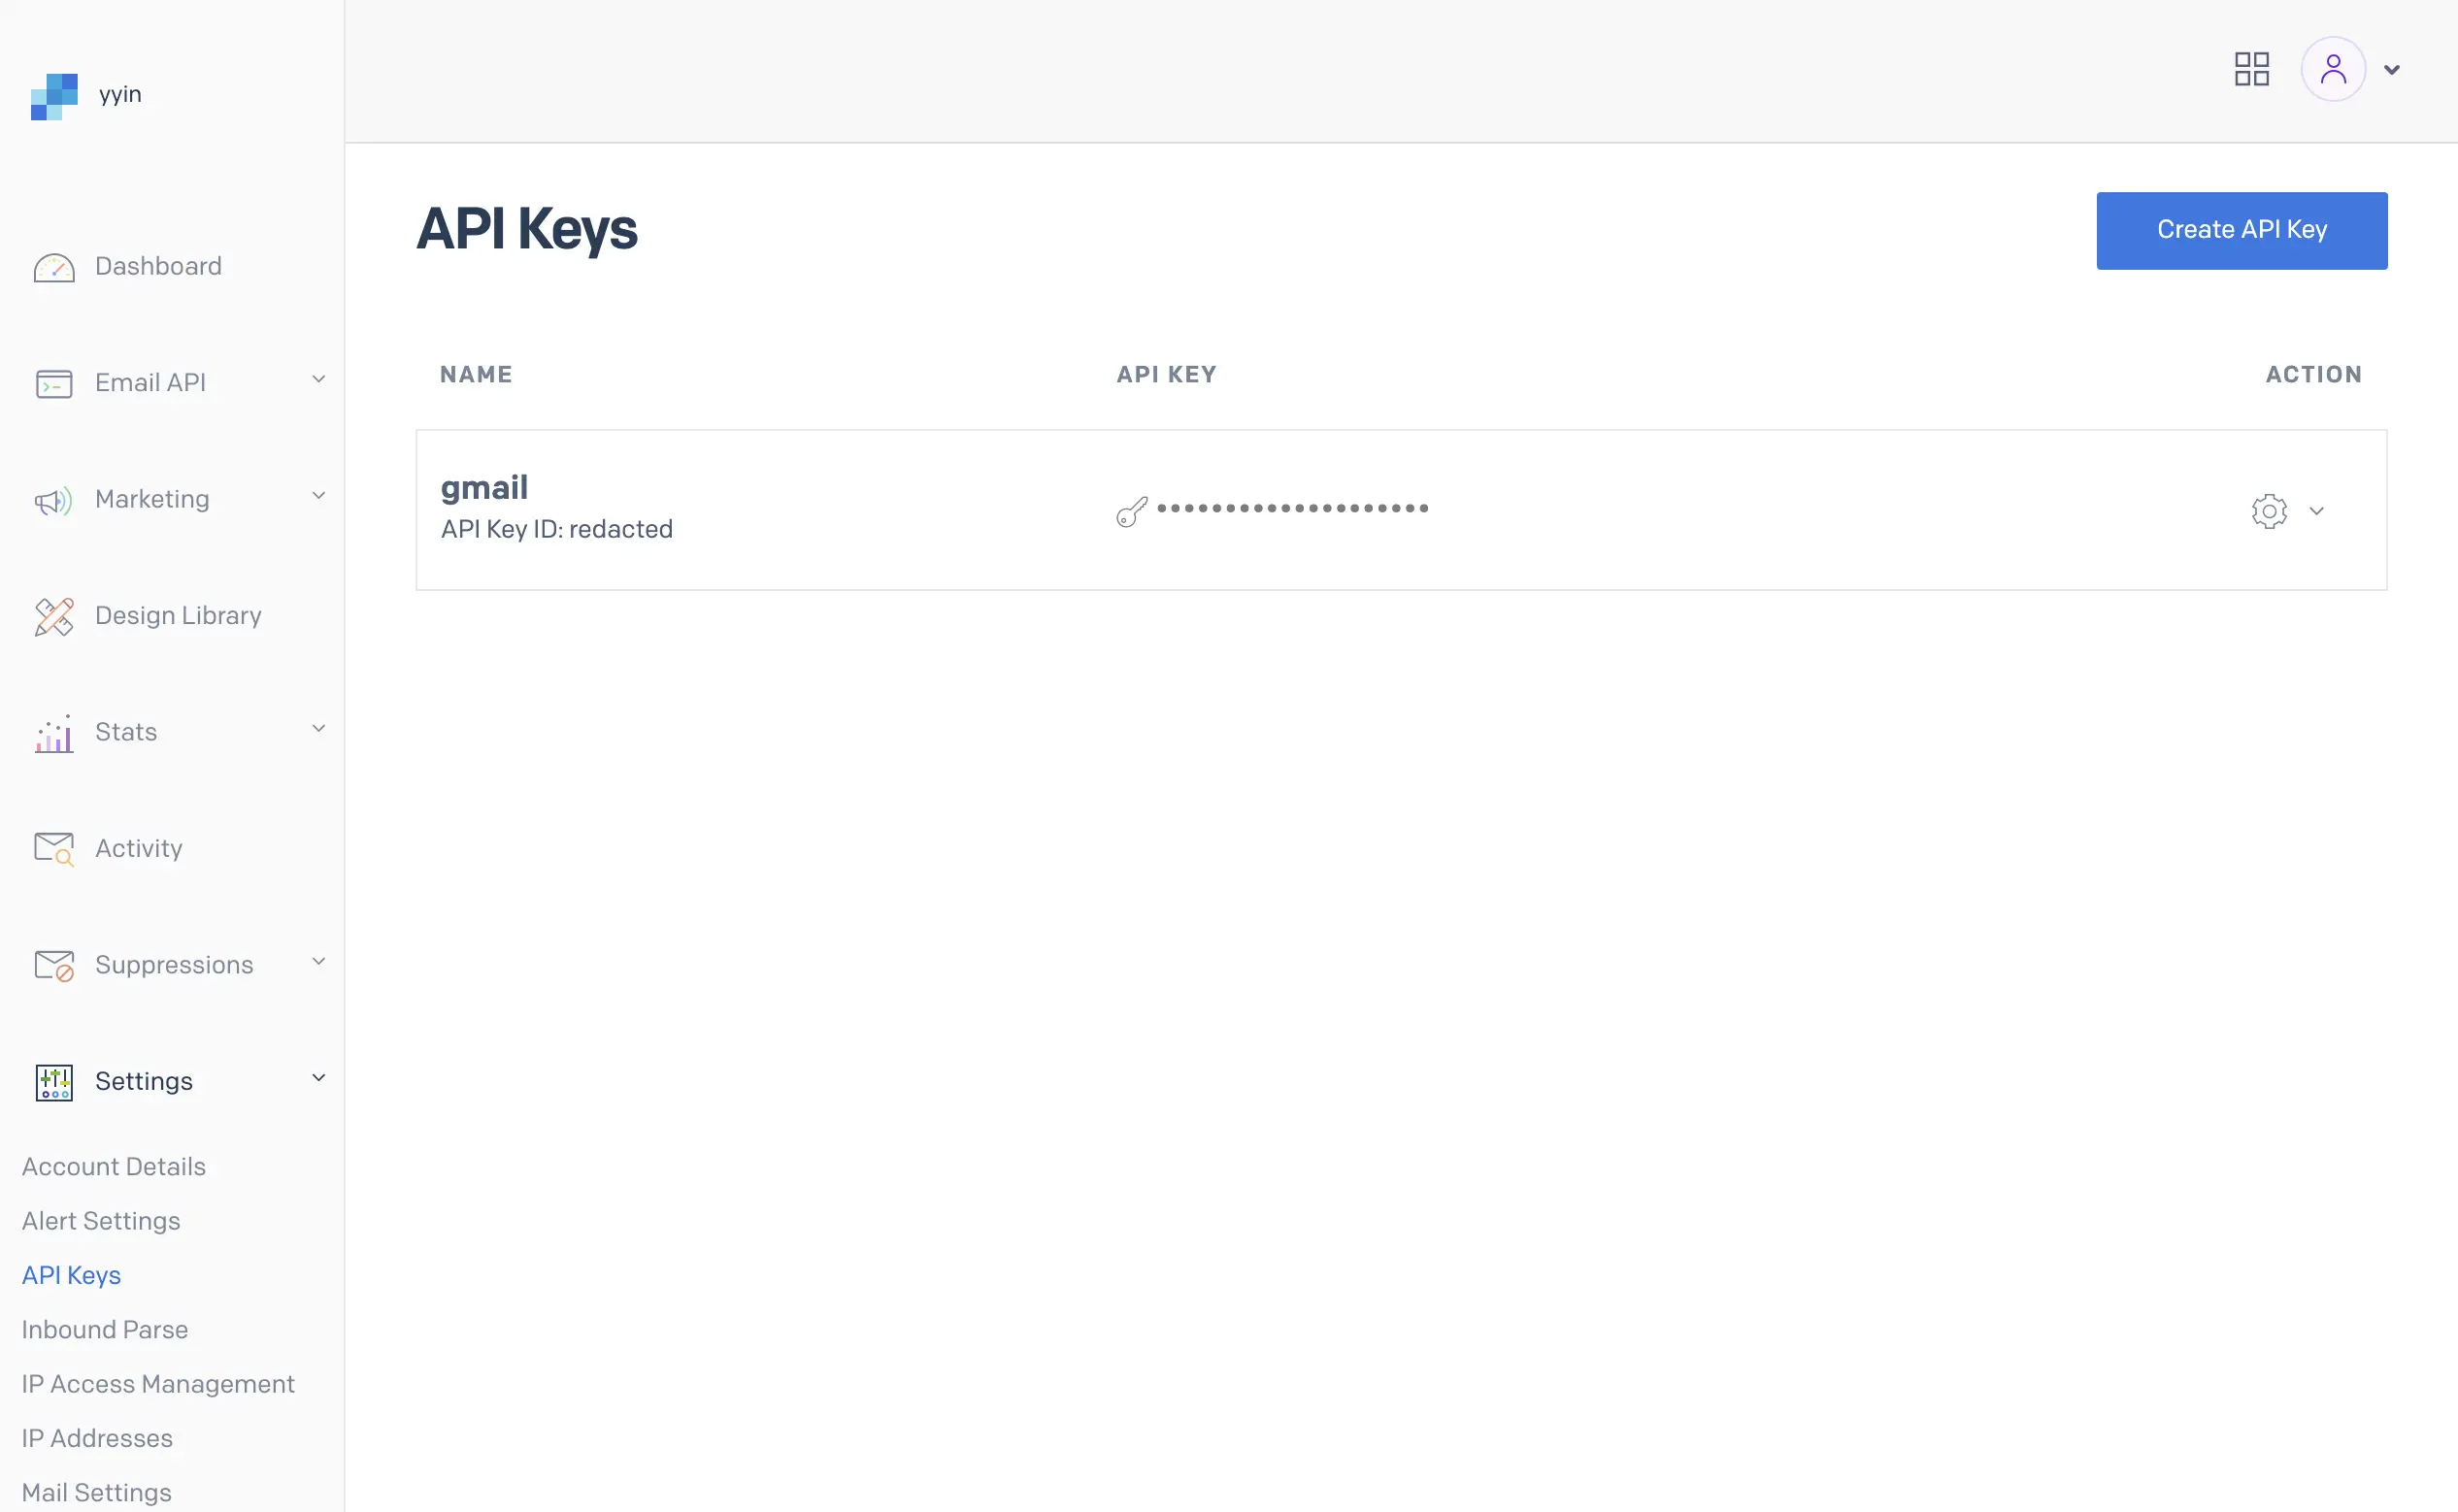
To integrate with Gmail you need to generate a API key. Go to Settings > API Keys and follow the prompt. Note down the API secret key.
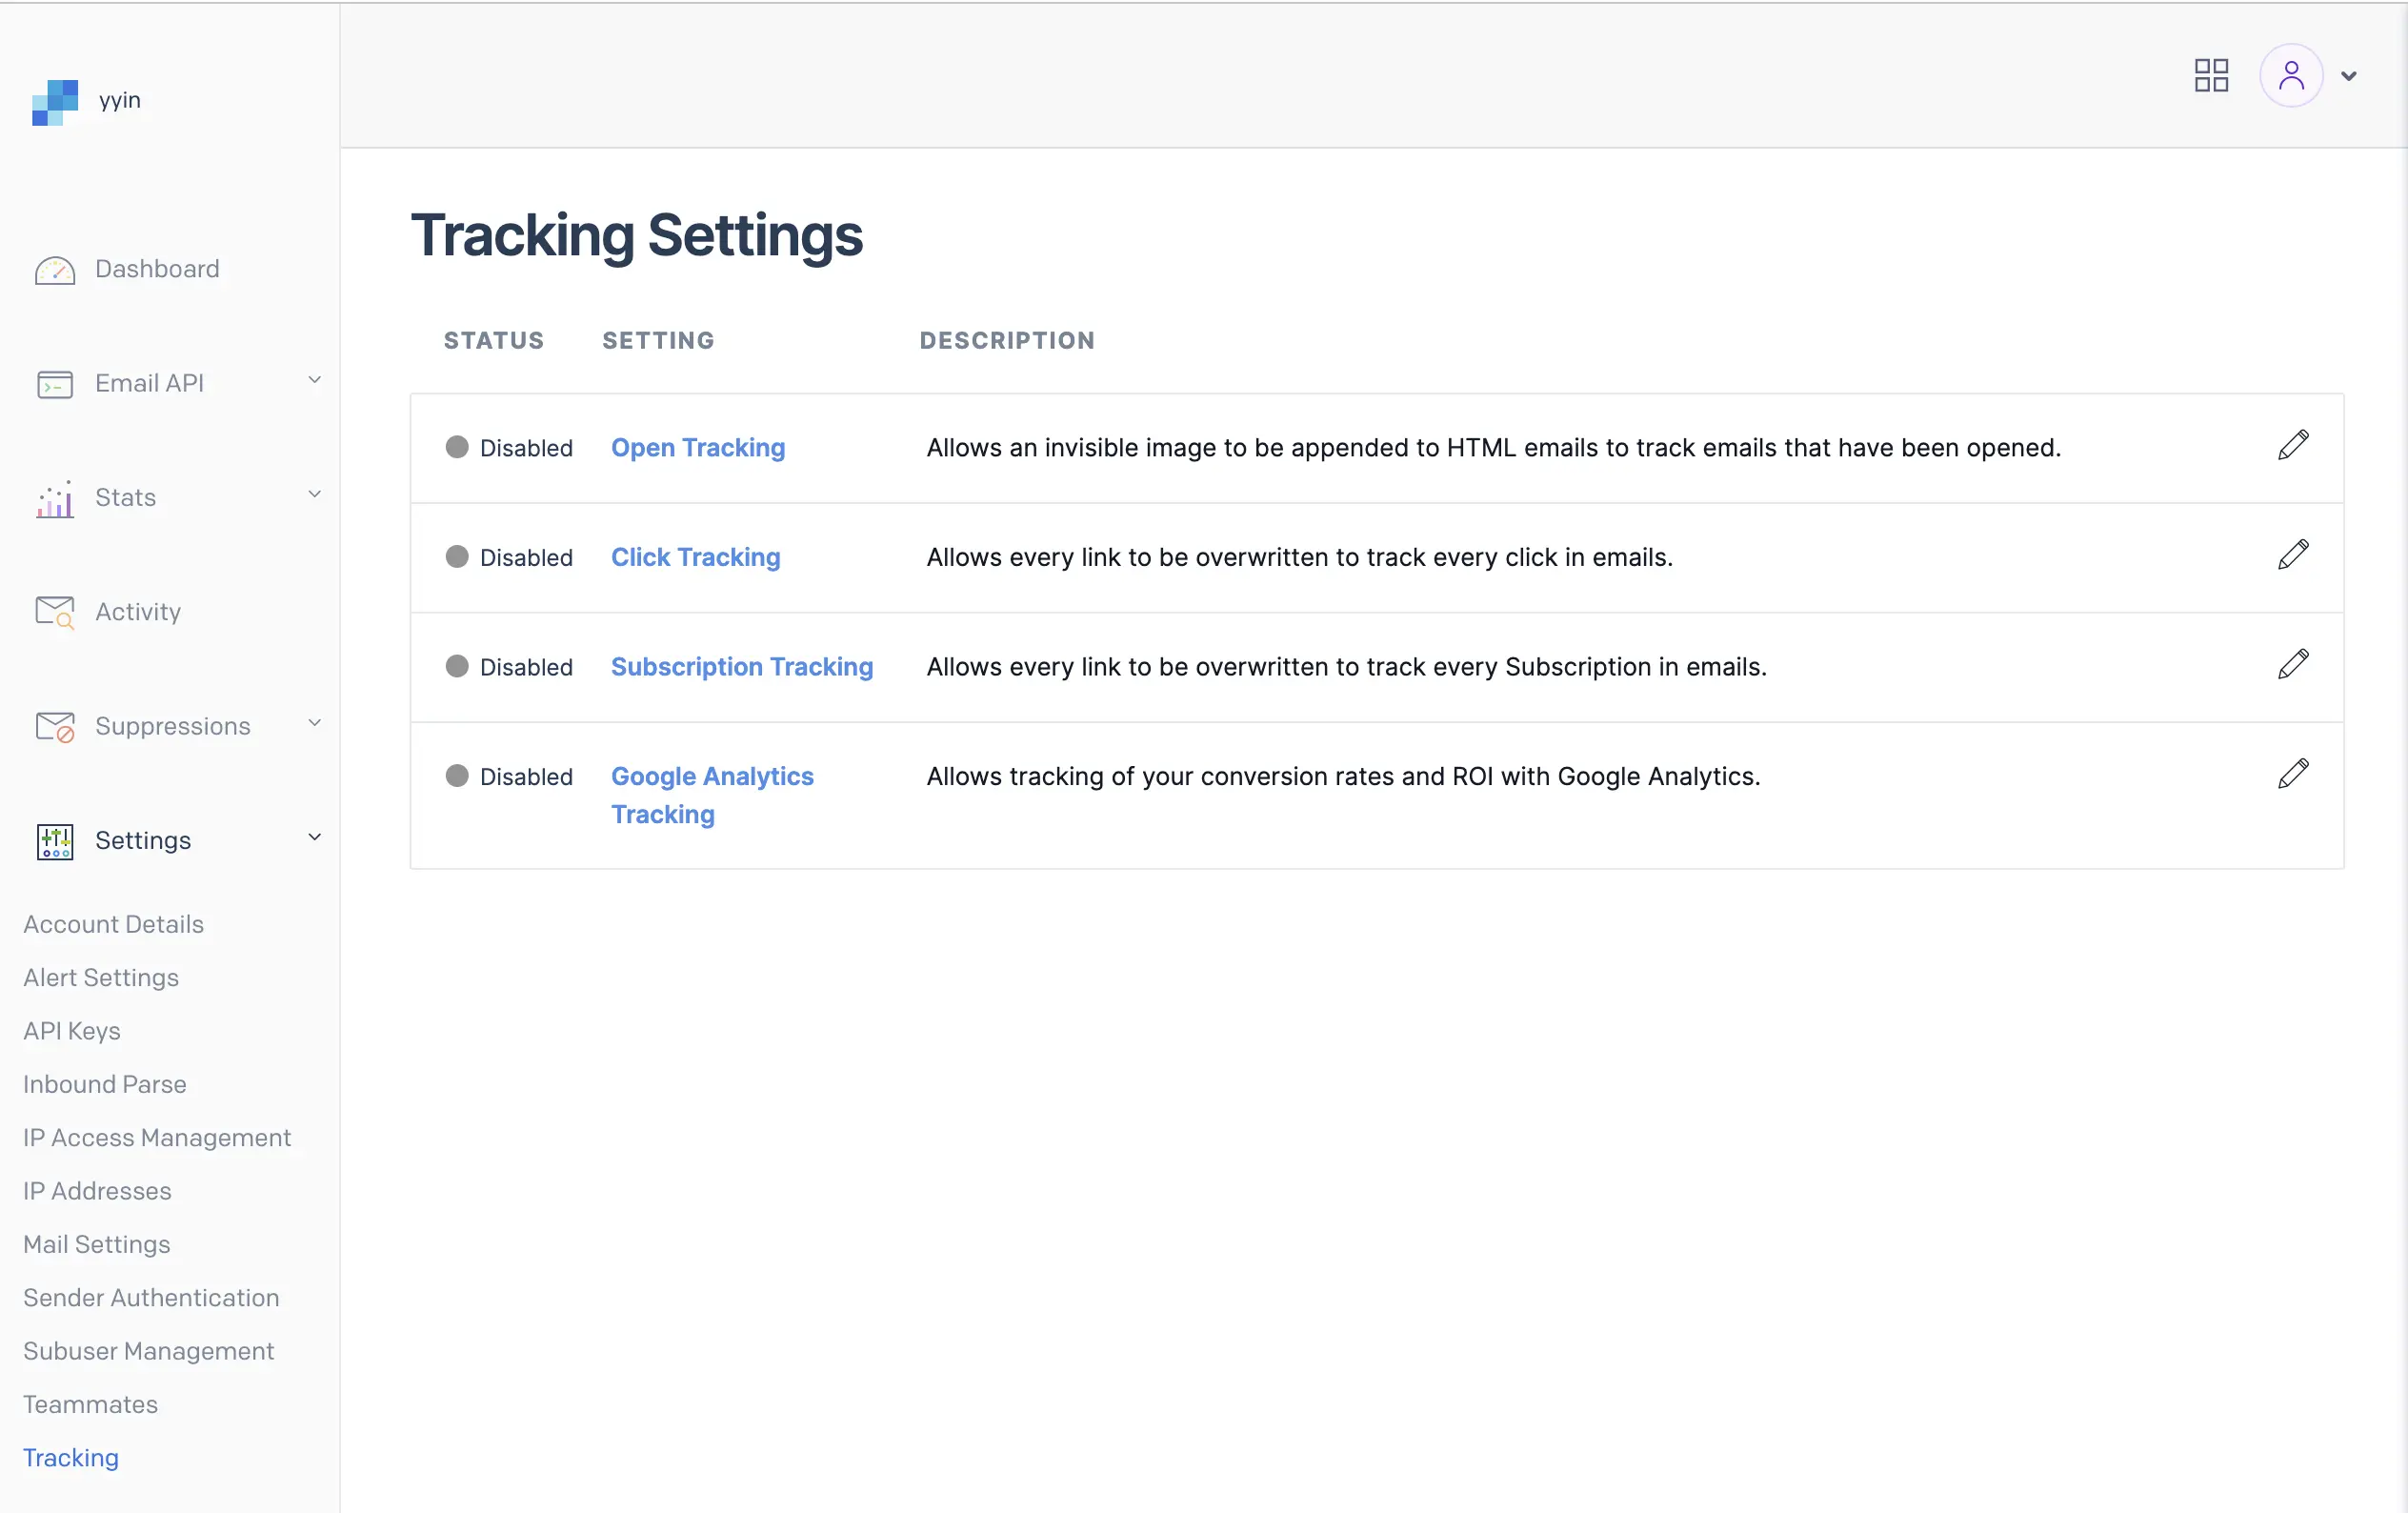
While you are there, go to Settings > Tracking and turn off all of them. (Your mails are more likely to get marked as spam if they contain tracker pixels.)
Gmail Configurations
- Go to Settings > Accounts and Import > Send mail as: > Add another email address. In the pop-up window:
- Page 1
- Name: put down a name as you want your email to appear as
- Email: your custom email address
- Treat as an alias: this doesn't matter unless you use Google Groups
- Page 2
- SMTP Server: smtp.sendgrid.net, port 587
- Username: always the literal text
apikey - Password: the API secret key you generated from Sendgrid earlier
- Secured connection using TLS
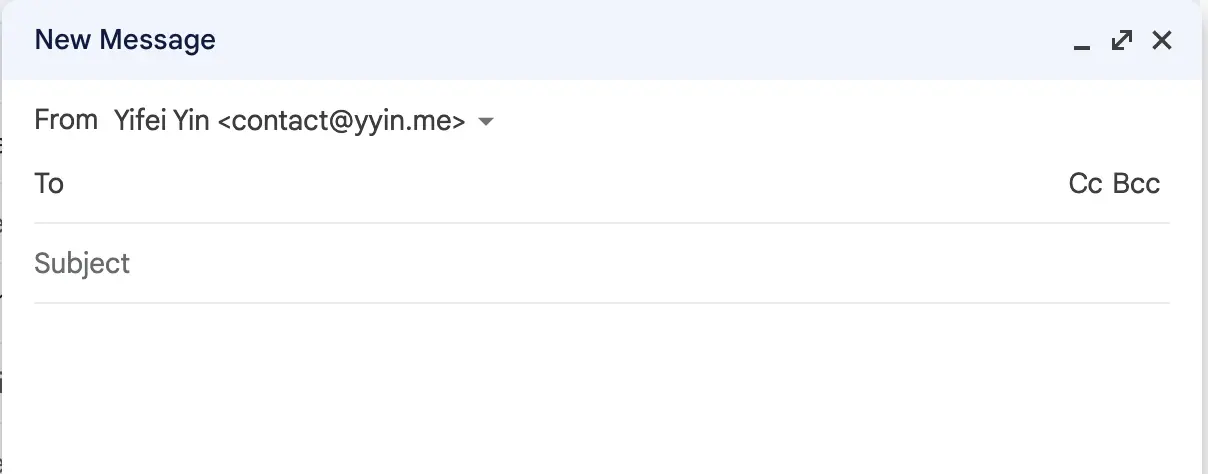
That's it! You will see a dropdown in the From field when composing a message from Gmail.
Try sending a mail to yourself.
It's possible that you can't receive mails properly at this point (not seeing email or the email is marked as spam). Give everything a few hours to settle in and try again.
Testing your setup
The best testing website I have used so far is https://www.mail-tester.com. You send a mail to their email address and you get a detailed report.
While you test, make sure to have a non-empty subject and body. Emails are more spammy if there's no content and might give you some false negative result.
Popular free email testing services: